1. Armor of God VBS
Paul is the first lesson in Armor of God series. Paul wrote about the armor in Ephesians 6:10-20. Paul was used as the first lesson to introduce the theme and to explain what the pieces of the armor were as a whole. We used one or two pieces of armor for each lesson. The Belt of Truth and the Helmet of Salvation were chosen for Paul because he lived and preached about Truth and Salvation. These lessons and decorations can be used for Paul without the armor theme.
Click here to download the lesson, visuals, Anchor Charts and a picture to color.
Magnetic Board Visuals are smaller, and some graphics are used to emphasize some of the points of the lesson. I print on cardstock and laminate. I add these small magnets on the back and add them to a magnetic white board as I teach the lesson. They can be used any way you prefer.
Click here to download the Magnetic Board Visuals.
The numbered lesson is included in these.
Click here to download the full-page Magnetic Board Visuals.
I like the Magnetic Board Visuals but prefer them to be bigger with a larger class. I used these as visuals and didn't cut them out or use the magnets. This is your preference.
So,
this is totally random, and I didn't use it for VBS, but I liked that I could use two key parts of this
lesson! It is a Tic Tac Toe game that is super easy to make and use game board
and the raindrops and viper are the game pieces. This is a one-page printable in color
and black & white. The students can be divided into groups and whoever
answers a question, can add a team game piece to the board. Depending on time,
you can play 1 or best out of 3/5 games can determine the winners. Click here to download.
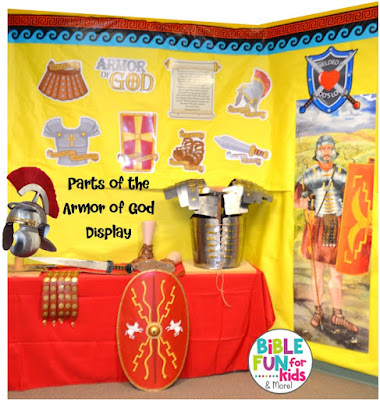
I set up a Roman Armor display. For this lesson, we used the belt and the helmet.
The Armor of God Cutouts above the armor is here.
The shield (Rome VBS Cutouts) and soldier on the right are no longer available.
The border across the top is the Athens plastic roll of tablecloth. I cut the border off of one side.
I used yellow bulletin board paper for the background a red tablecloth for the display table.
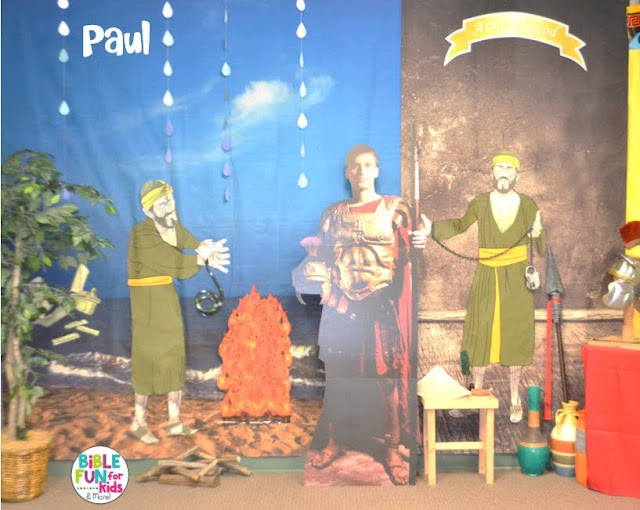
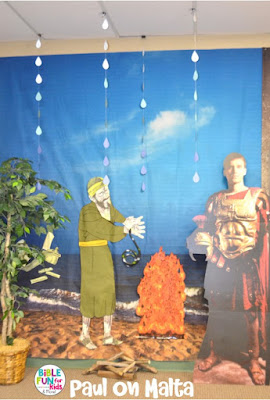
There are a lot of little details in these events that are pictured.I used this background for Malta. I painted Paul and printed the ship. I hung these raindrops from the ceiling. The kids love them! I added a rubber viper attached to his hand, the wood pile on the floor by the fire, a palm tree and the Roman soldier standup between both scenes. Click here to download the ship and the pieces.
I purchased this campfire. I cut the wood logs off the bottoms on all but one to use as the base. I carefully separated the front and backs from all of them and that made double the pieces! I taped the backs once they were separated to connect the slit and anyplace that tore. I used this background for Paul in Rome writing to the Ephesians. I used a small table I had from a previous VBS and put an oil lamp, the scripture typed out without any numbers on scroll looking paper and feather pen on it. I added vases for the house and chains to Paul's hands.For the outside of the door, I kept it simple and used black chalkboard bulletin board paper, this soldier and the Roman border with the Roman circle border for the grades. Click here to download the border and Roman circle border.
Right click and 'save image as' these pictures and save them as big as possible.
Please note: Permission is granted to send Bible Fun For Kids files and posters to the church office or printer for copies and enlargements. The permission from the graphics can be found here, although I was not asked to show permission.
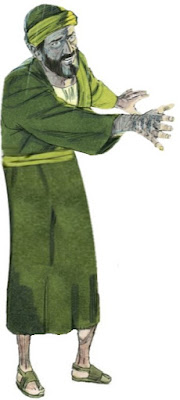
If you prefer to have Paul printed, it is a lot cheaper option than cardboard, which if you are paying for yourself, are now unaffordable because of shipping costs. Check around for prices, but when I ordered these, this was the best option. I purchased the matte 36" x 48". I used Prime free shipping, so ordering here was cheapest and they turned out really clear and the paper is thicker than the bulletin board paper I have to use to draw them! If the prices stay reasonable, I will print my people in the future! They come in a roll, so carefully release them and lay them flat roll side down with something heavy on them. It just takes a day or two, then cut them out.
The lessons in this series:








No comments:
Post a Comment
Thanks so much for taking the time to comment! I appreciate it! They will be added as soon as they are approved.