Decorating and crafts!
Thanks so much to Jeanne Dickson for permission to share her pictures and ideas here!
It takes 2 tables to make this ark! Cover the large table for the bottom and make an opening for the one door. Then add a smaller table to the top as shown. Cover it also and create the one window.
Draw lines on the paper to look like wood planks. Add a board for the door and gangplank.
This is one of the backgrounds Jeanne designed. Two trees, the animals and the raindrops hanging from the ceiling are shown. Jeanne used laminated poster board and copy paper to make the raindrops. The Egyptian backdrop is here.
Each night, the basic look can change for the specific events that are discussed. The scene before, during and after the flood can be changed and talked about.
On Day 1, Jeanne had a bag full of tools and 'gopher' wood blocks for the students to 'build' the ark!
Before the flood, you can see the sky and grass. The next scene shows water everywhere.
This is obviously after the flood when Noah left the ark. Jeanne set the animals, Noah and the altar on the top 'deck' of the ark using the rainbow scene for the background.
Jeanne had three different rooms to set up and use. These pictures show the animals after the flood. The dove and raven were in one tree and assorted animals were in another. She added bats hanging in the rafters (fun!) and made a kid-size altar with these blocks and fire. The fire was purchased from Amazon and there are several choices here. There is one at Oriental Trading, also.
The following are craft projects that Jeanne did with her class.
I created printables for most of these, so they will not look exactly like the photo.
Jeanne used this double sided paper plate project. The paper plates can be glued together with a large craft stick in between to hold and turn the plates.
Click here to download a one page with two arks and clouds (ark and clouds not shown) to design your own project. Add stickers for more fun!
This is an optional Noah's Ark paper plate project.
Click here to see it and two Noah's Ark songs by Jeanne.
Other projects included the above rainmaker made from a Pringles can and stickers.
The students also made these doves. I created a similar printable with an easy-to-cut dove sitting on a branch with an olive leave in its beak. You can add a craft stick for the students to hold it and/or a yarn/string loop to carry it. Color and black & white is included. Click here to download.
Jeanne's students also made this mobile. The top is a paper plate. Add yarn or string to make a look at the top and to hang the animals as shown. Click here to download the rainbow and cloud scripture for the top of the paper plate and animals. The animals are on rectangles. Print, cut on outside solid line and fold on the dotted line. Add glue and insert yarn and close. There is a page to print plain rectangles so you can add stickers instead. Click here to download.
The students wore these masks two different days and pretended to be animals, then they took them home. They purchased small arks and these finger puppets to take home also.
These Noah's Ark stickers would have a lot of uses!
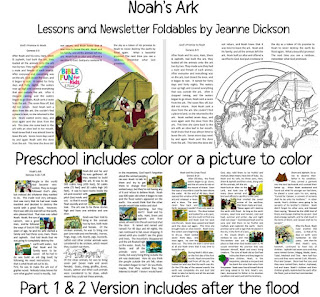
The Newsletter Foldables can be used as a review handout, sent in the mail or in an email, especially for those unable to be in class. The same lesson is included for the teacher.
This is the inside with the lesson and pictures. On the outside, Jeanne adds notes and assorted items. She might add a Bible verse, memory verse, a Bible song or two, a picture to color, a reward reminder and/or notes about class and hello to students. You could add a puzzle, maze, worksheet, whatever you prefer.


No comments:
Post a Comment
Thanks so much for taking the time to comment! I appreciate it! They will be added as soon as they are approved.